Installation Instructions
The Deny Cooler Lock was created to “Stop Cooler Thieves Cold!” – and, it does!
Before you begin installation, click HERE to register your IronFist Lock Base!
CLICK LINK BELOW FOR 15 Second INSTALL VIDEO.
https://youtu.be/Y766AqoFhcU
TOOLS NEEDED:
- Permanent Marker
- Drill
- 3/8” Drill Bit
- 3/4″ Wrench or Extension Socket
DENY Anchoring Cooler Lock System includes:
-
IronFist™ Anchoring Lock Base
-
StiffArm™ Locking Bar
-
BreakAway Security Nut
-
2 High-Security Keys
The following directions will guide you through the mounting process.
Please read through all six steps BEFORE you begin installation.
1
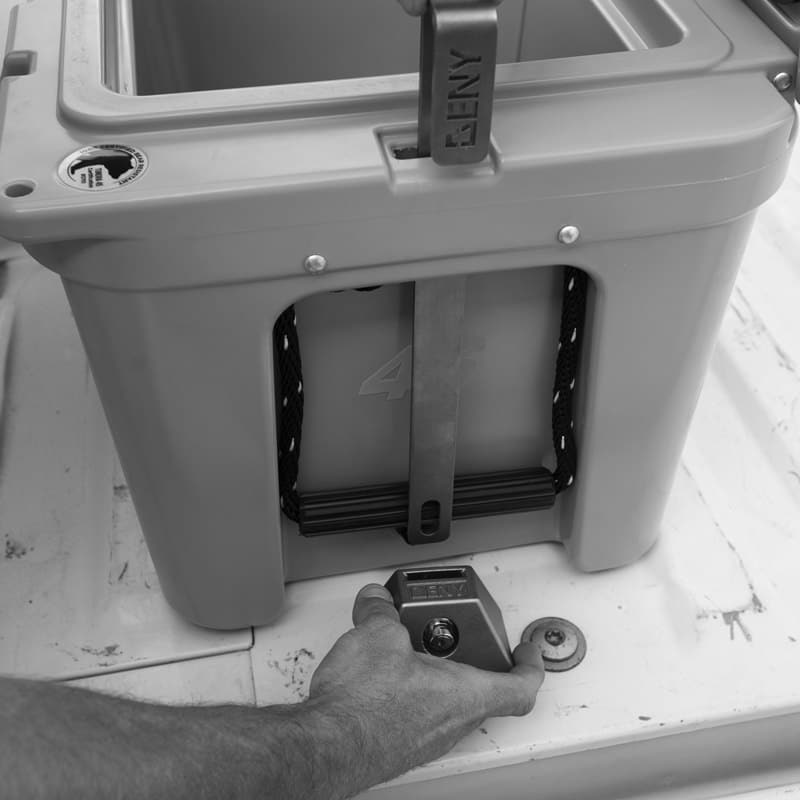
PREPARATION: Insert the StiffArm Locking Bar into the cooler slot (A). Ensure the DENY Logo is facing outward. (Hook portion of the bar to the outside.) Ensure the IronFist Lock Base is in the unlocked position.
2
POSITION: With the StiffArm inserted, position cooler in location desired, keeping in mind this will result in a permanent location for the base. Once you’ve achieved the ideal location, slip the IronFist under the StiffArm in order to hold an accurate placement (A). Leave in the unlocked position. Set as upright as possible.
3
NOTE: the base is sized to straddle the ribs in a pickup truck bed, or turned 90°, will fit in the channel between them. Fine-tune the position so the base will have a solid surface on which to rest.
BEFORE going any further, identify where the threaded stud is sitting and make a note of its location relative to welds, seams, wiring, and other hardware under the mounting surface. Make any adjustments necessary to avoid framework, electrical or fuel lines, fuel tanks, spare tires, reinforcing channels or bars – anything that might impair the placement and tightening of the nut onto the base’s threaded stud.
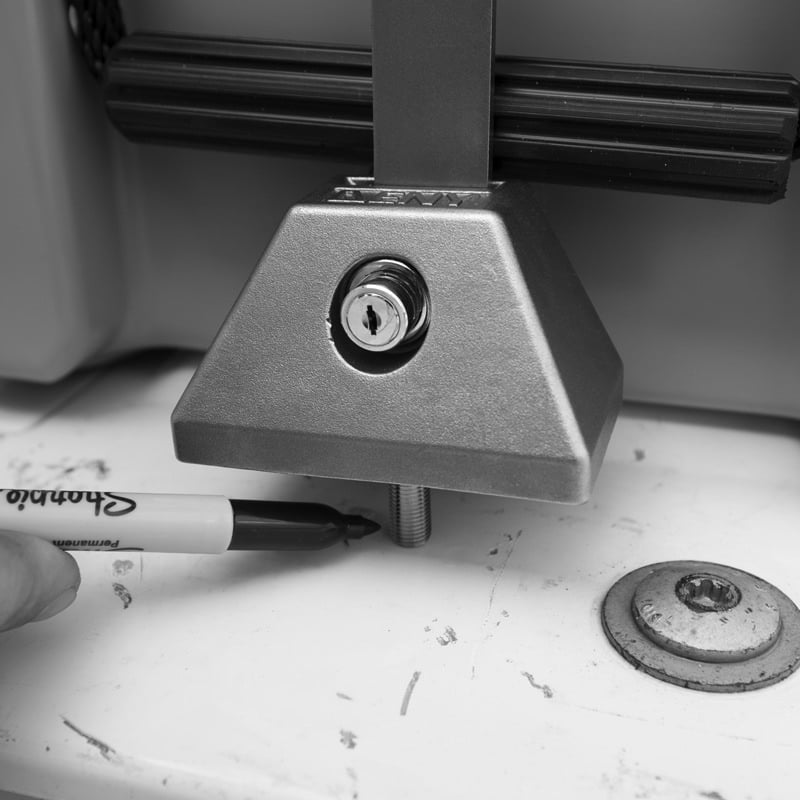
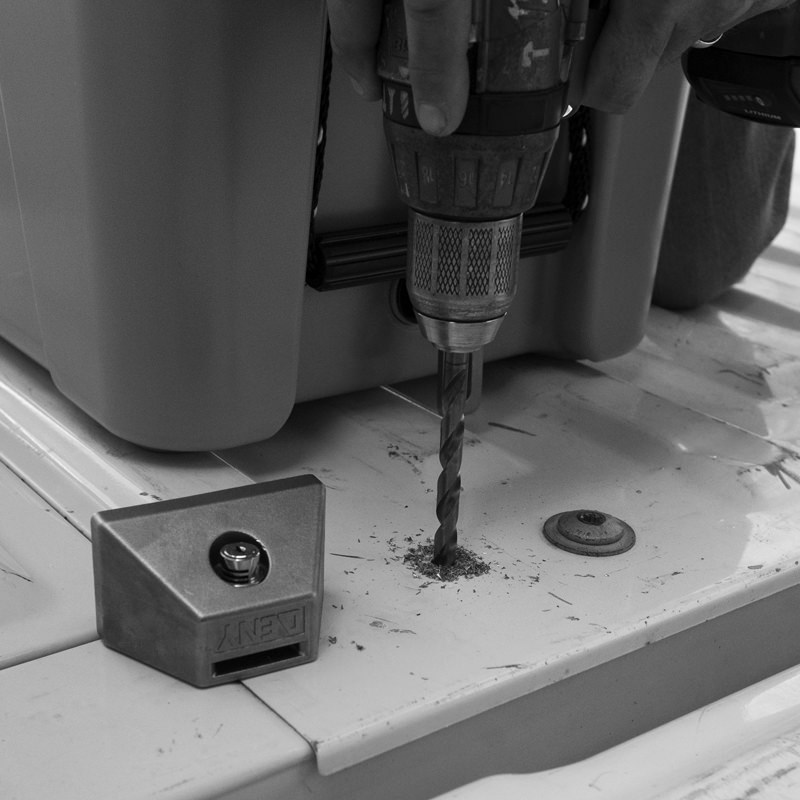
4
MARK & DRILL LOCATION: Once location is verified, mark the position of the IronFist stud with the permanent marker (B). Mark to determine the center location for drilling. Drill the hole for the IronFist stud (C).
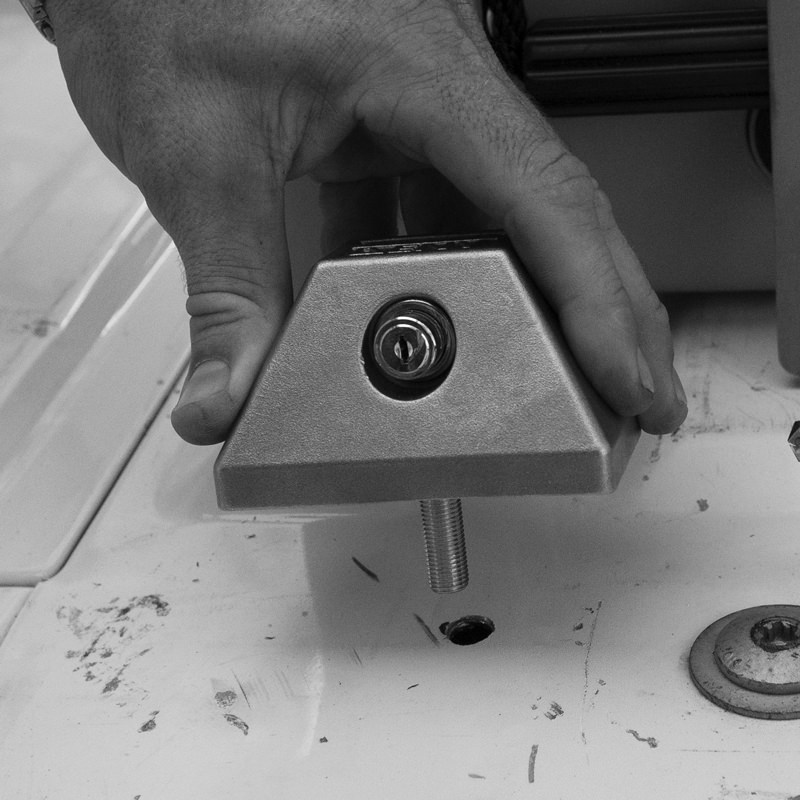
INSERT LOCK: Place assembly (cooler, StiffArm, and IronFist) back into position and allow the stud to fall into the drilled hole (D). Re-inspect the positioning of the assembly and look at the underside through which the stud dropped.
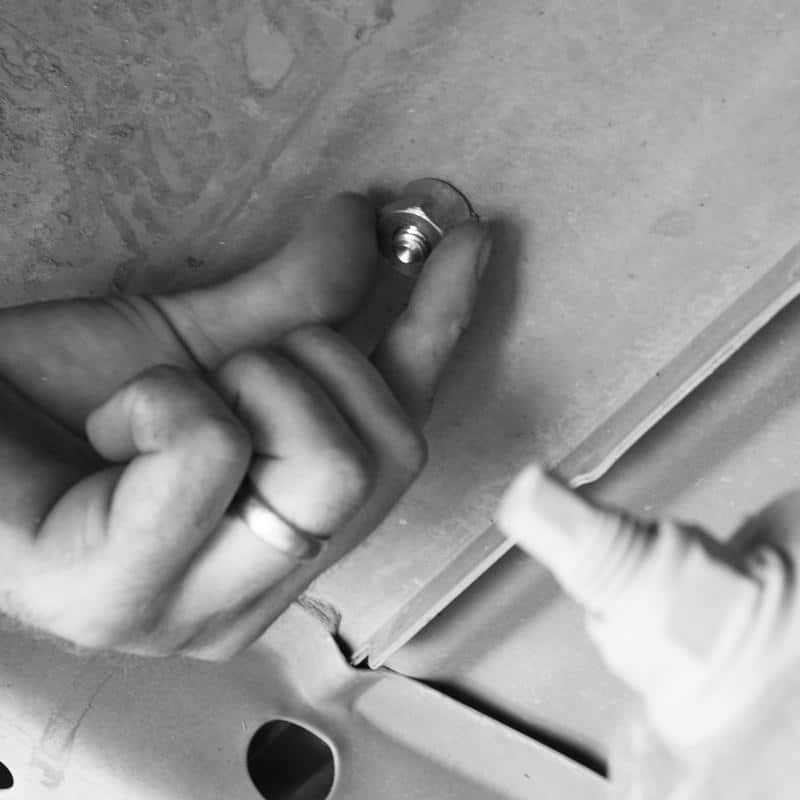
5
TIGHTENING: Tighten the Breakaway Security Nut to the underside of the IronFist stud until it is hand-tight (E), then re-check the top installation and ensure everything is still aligned how intended. Engage lock into the locked position. Adjust as necessary. Next, tighten Breakaway Security Nut with 3/4” wrench. Once the nut is torqued down, keep turning until the hex portion of the nut breaks off. This leaves a conical-shaped nut which cannot be removed. Your DENY Lock is now ready to use.
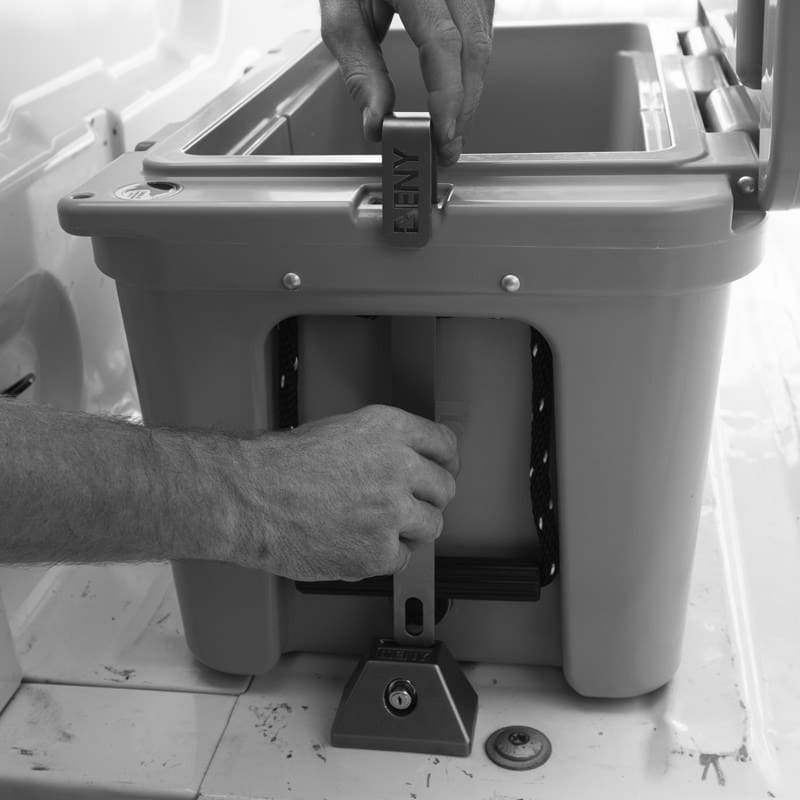
6
SECURING COOLER: Insert StiffArm through cooler into the IronFist and engage lock (F).
Notes
When installing your Deny lock, a few things you to consider when preparing to install.
NOTE If you think you need a longer stud than 1.25″ Please request “longer Stud” in the Comments at checkout.
First, consider for what purpose the vehicle is used and how you use it. While the IronFist Lock Base is somewhat insignificant in size, you will still want to position it in a location that is out of the way of everyday use of the vehicle, since it cannot be removed when installed with the hardware supplied.
Second, although the Deny lock withstands hammers, bolt cutters, pry-bars and other tools, it’s best to pick a location in which tools have difficulty accessing the lock. The less access, the less leverage.
Finally, when considering a location for the IronFist Lock Base, be certain you know what is behind or beneath the hole you drill for the mounting stud. By checking and re-checking, you can avoid drilling into wires, fuel systems, frames or areas into which you cannot access the stud to start or tighten the nut.
THE DENY GUARANTEE
 We build locks to last, and we stand behind our products! Our promise is to build the strongest, toughest, highest quality locks you can find. DENY Locks proudly offers a full, lifetime manufacturers’ warranty for the IronFist Lock Base.
If you have a question or encounter a problem with a lock, please email us at support@denylocks.com and provide the following information:
-
- Contact name, phone, and email
- Order Number
- Details about your concern
- Photos of your installed IronFist Lock Base
Please feel free to contact us for assistance with your lock.
WARRANTY DETAILS: Our warranty applies during the Lock’s entire useful life. We will repair or replace the IronFist Lock base if we determine:
- You have registered your lock online at denylocks.com showing proof of purchase.
- It is faulty due to the manufacturing and/or assembly process.
- The lock has been used in a reasonable manner for its ordinary purpose.
Warranty coverage is limited to the lock’s replacement cost. All repair and/or replacement is subject to our inspection and approval. Shipping costs could be passed to the customer.